Ranunculus Care
Hey there! Before we dig into the details we have a very important FSA (that’s floral service announcement)! So if you only read one thing before enjoying your blooms read this: DO NOT REMOVE THE CORRUGATED WRAP ON YOUR FLOWERS! At least not yet! Got it? Good!
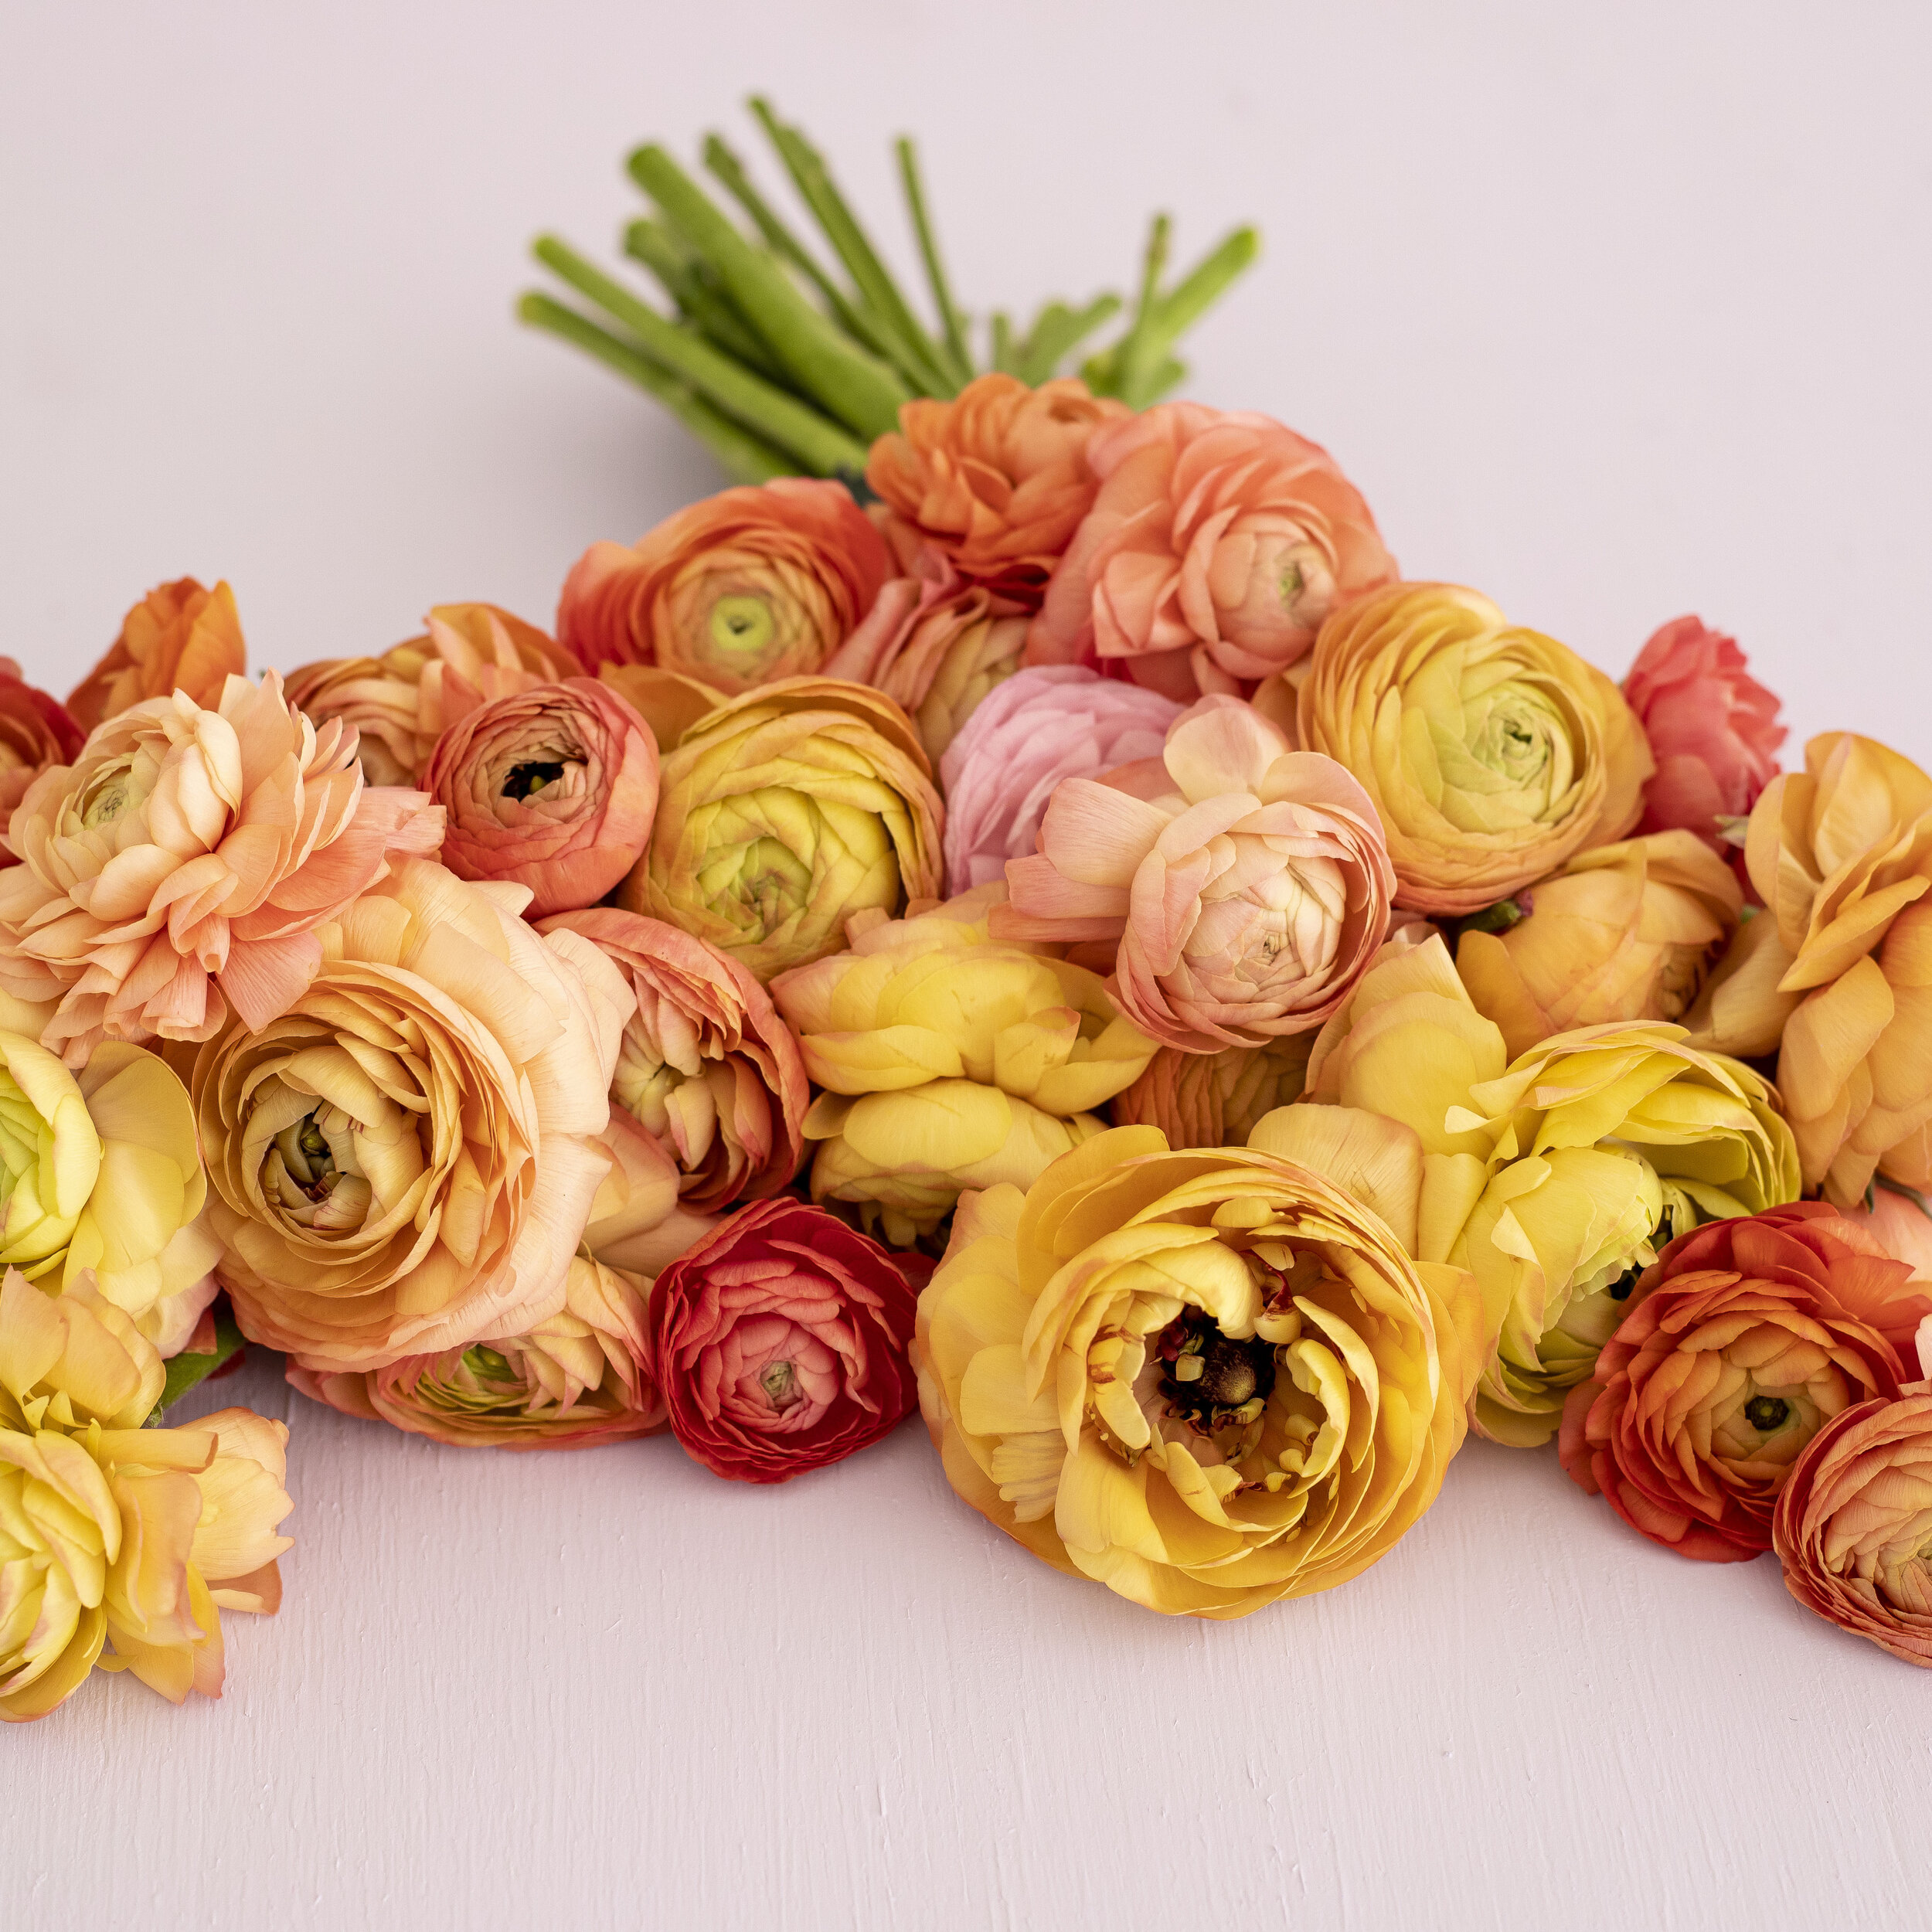
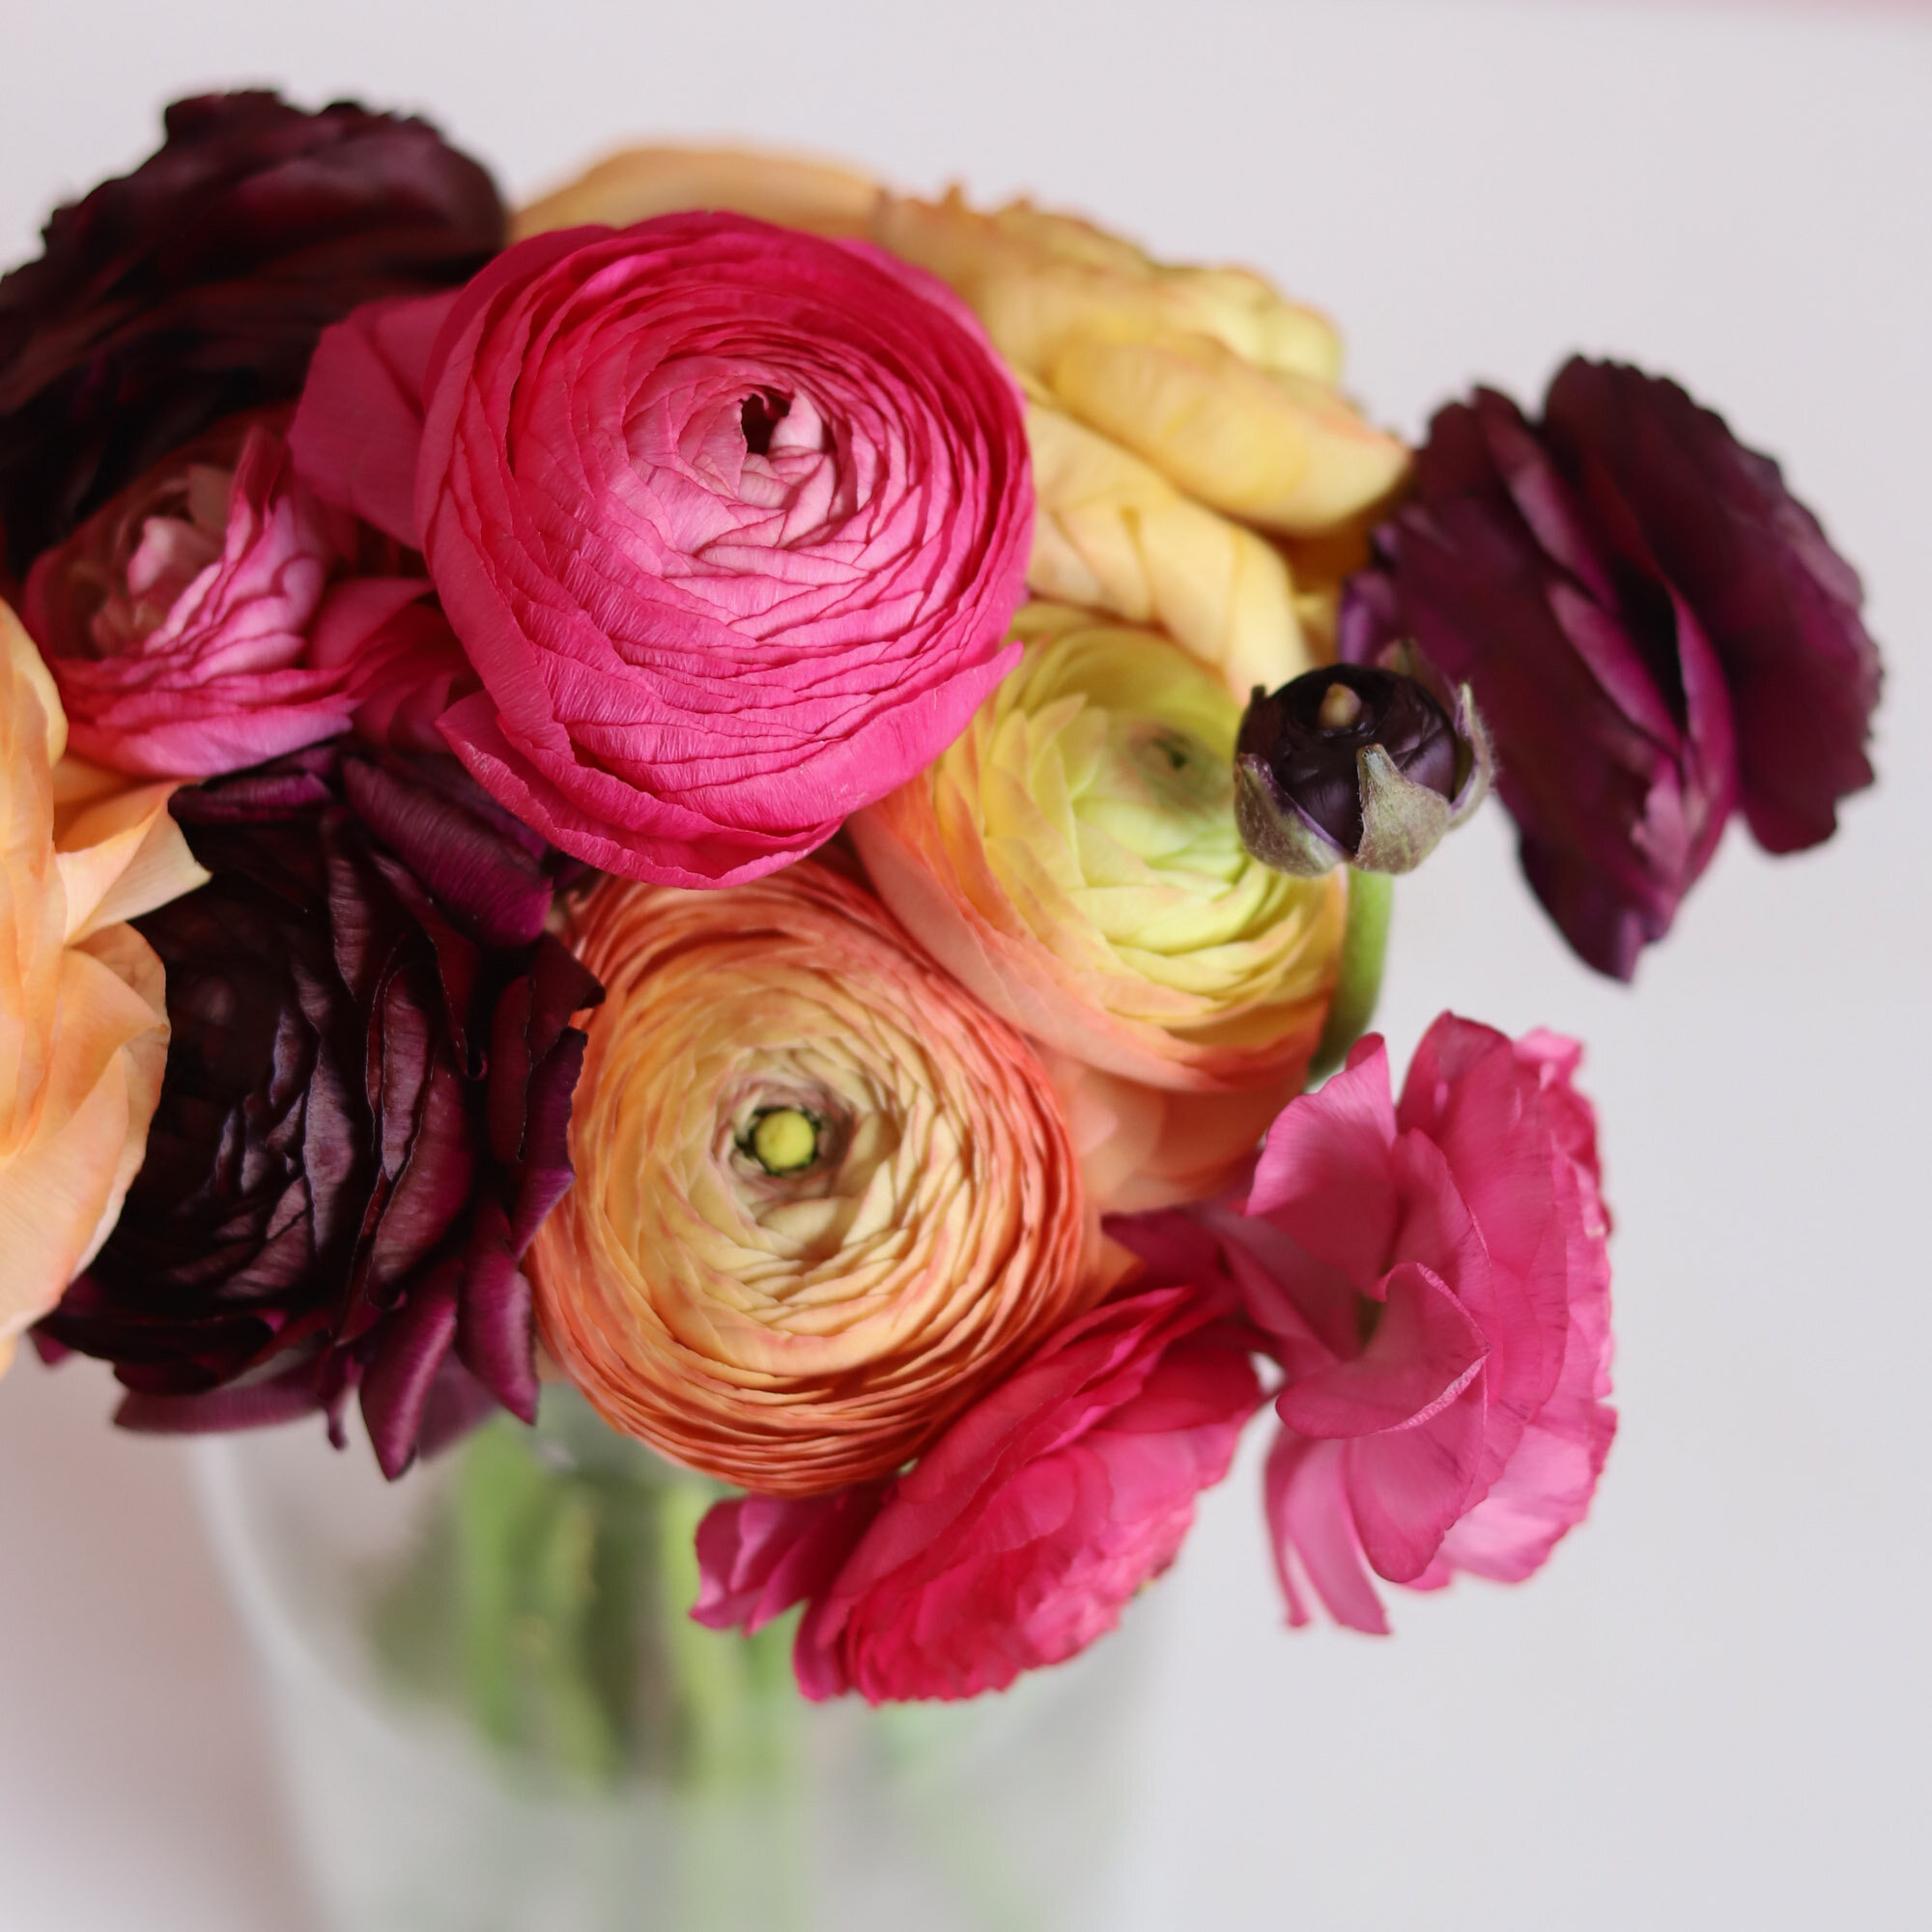
Ranunculus are small, delicate, and petal-packed flowers that come in a variety of striking colors. The word ranunculus is derived from Latin and roughly translates to little frog, so named because of this flower’s tendency to grow wildly close to water sources! Ranuncs are a popular stem at Farmgirl and can often be found in burlaps, VVBs, and single stem arrangements. These flowers bring a whimsy to our designs that we just can’t get enough of!
First thing’s First!
Find the largest vessel you can - a pasta pot, your coffee decanter, the mixing bowl you bought at Target when you first moved into your apartment. Good! Fill it with clean, cool water. Now find a sharp pair of scissors, kitchen shears, or if you’re a total pro, pruning shears from your garden. Use them to trim the stems of your ranunculus by at least half an inch at an angle. Why an angle? It helps to maximize the surface area through which your ranunculus can hydrate. And believe us, after their trip, they’re thirsty! Next, walk away! Set a time for two hours to let your blooms get a big drink of water. Reminder! DO NOT UNWRAP YOUR RANUNCULUS (just yet!).
No Time to Design? Chop + Drop!
After your ranuncs have hydrated for a couple of hours with their corrugated wrap on, find a real vase (or vases!) and fill it ¾ of the way with clean, cool tap water. Not that we’re judging, but we prefer something a little sleeker than the pasta pot, mixing bowl, or whatever large vessel you used for pre-hyrdration will show off your stems (that said – work with what you’ve got)!
Pro tip: We find a vase between six to eight inches high with a three-inch opening works best for these babes! Ranuncs have notoriously thin and delicate stems so a smaller opening is best for a fuller-looking vase. Or if your options are limited and you don’t have one vase big enough for your blooms, use a few! We love the look of a few, scattered bud vases around the house. We find one stem is just as stunning as a vase full of them!
To prepare your flowers for the vase(s), carefully remove and discard the corrugated wrap, gently strip away any foliage that will fall below the vase waterline, drop your stems into the vessel(s) of your choice, and you’re done!
Got a second? Get arranging!
Have some more time on your hands? We know the feeling! Get out of your head and into your hands and get arranging!
After your ranunculus have hydrated with the corrugated wrap on for a couple of hours, it’s time to design! Before you get started, carefully remove and then discard the wrap.
Gently grasp the bundle of ranunculus in your hand. Pretending like your hand is the vase, work to stagger the heights of each bloom. Aim for a highest, lowest, high pattern here (sort of like the letter V) and give the stems on your left a little extra height than the rest. Create a valley with the shorties in the center and then add a little bit of drama with a little more height on the right. Last, fan the heads out in all directions so your vase is gorgeous from any angle!
Once you’re satisfied with the height and overall feel of your ranuncs, measure your stems against the height of your vase. This will help you determine where you need to make your cut. Next, grab your sharp scissors or shears and trim your stems to your desired height. Place your stems in the vessel and enjoy!
Routine Maintenance
Help your blooms live their best life by keeping them out of the direct sun and any extra toasty areas in your home. We recommend placing your vase at least three feet away from any sunny window and away from any obvious heat sources (like a radiator). Bacteria buildup is natural (and unavoidable) as the stems age. Change the water daily (or as often as you remember) so your ranunculus are always getting a fresh drink. Trimming the stems at the same time will also ensure they’re hydrating efficiently!
Pro tip: Some blooms may die off sooner than others. Removing any dying flowers will keep its vase mates looking fresher longer!


